|
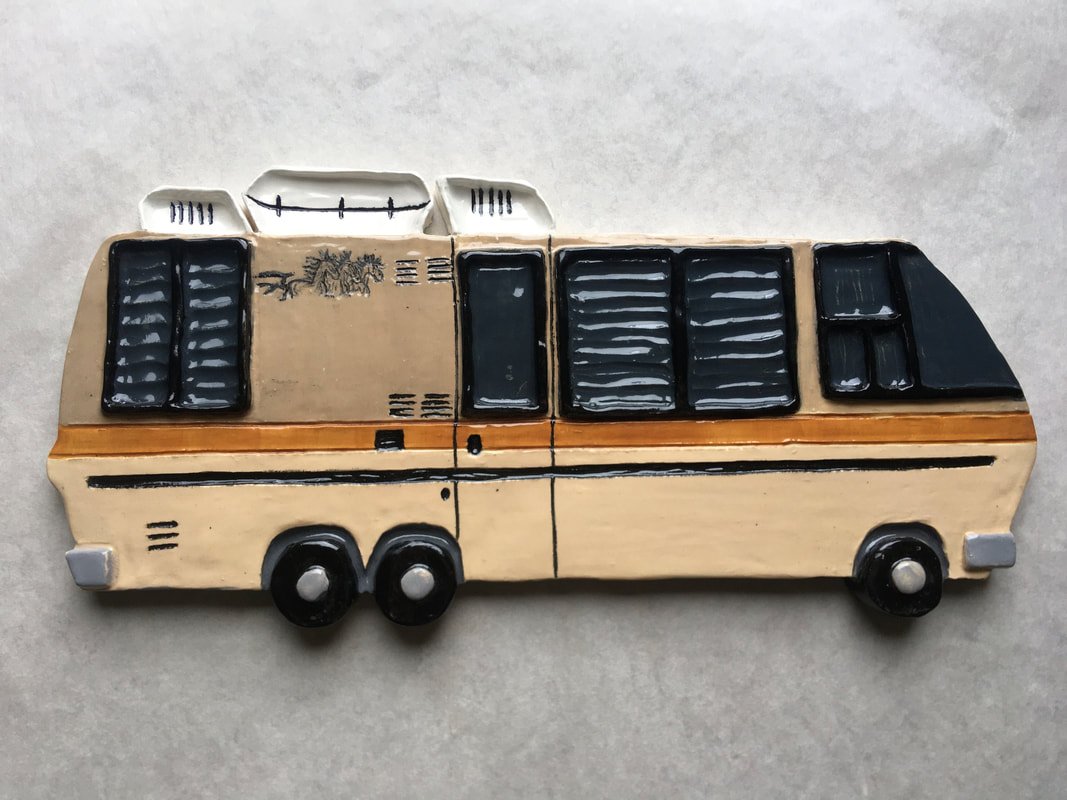
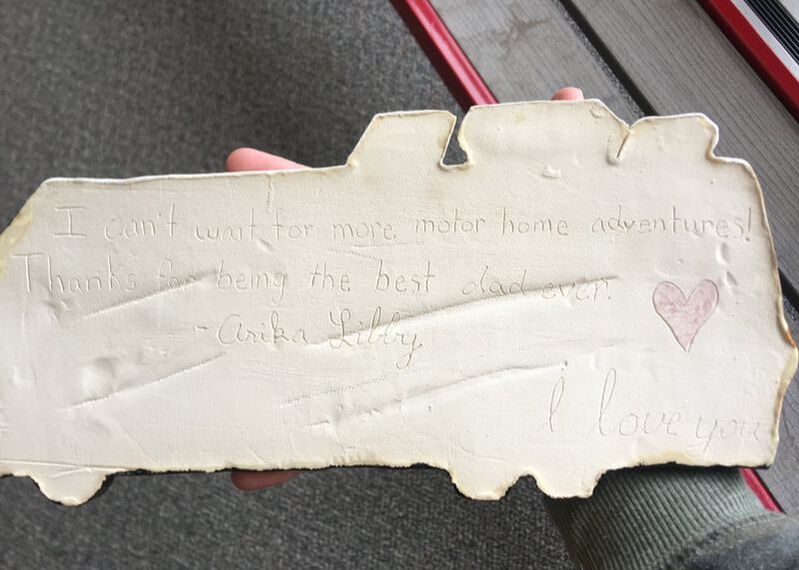
Supplies/materials, White Clay, Needle tool, Bobby pin tool, Underglazes, Wax resist, Clear glaze, Underglaze pencil Making my dads motorhome took a lot of steps, but I learned a lot throughout the process. First I started by finding some white clay and rolled it out into a big flat slab. Then I made the outline of the motorhome with the tip of my pencil. The clay was soft so if I made a mistake I could just rub out the line and restart. Once I had the outline down I started making the details like the windows, stripe, wheels, and other parts of the motor home. I slipped and scored the edge of the windows to make it pop out. Next I made another slab and mixed up some underglazes. I tested lots of different underglazes out on the slab. I wanted the perfect colors for the motor home so this took a lot of time. After I found the perfect colors I started painting the underglazes on my motorhome. I added two layers of underglazes when I used darker colors and when I used lighter colors I had to do about four layers of underglaze. After I grabbed some wax resist and my test piece. I bruised wax resist on the slab and it was hard to put on because my paint brush got all sticky, the wax ended up being really thick on the clay and uneven. Thank god it was the testing piece though. After the wax dried I carved out random pieces testing out the technique. The wax was thick, so some of it peeled off. Once I finished carving I put black underglaze in the cracks and if I messed up the wax resist kept it from getting on the colors. I then fired my test piece to see how it would turn out. I came out pretty good other than the spots that the wax resist peeled when I was carving. I decided it was time to do my motorhome. This time when I used the wax resist I put two tablespoons of wax and one tablespoon of water. This helped a lot. It really thinned it out and made painting easier. I also used a brush that was more hard so it wouldn't clump. Doing these little things differently made the process much easier. After the wax resistance dried on my motorhome. I started carving but found none of my tools were small enough so I used a needle tool and that worked perfectly. I also carved on the back, “I can’t wait for more motorhome adventures! Thanks for being the best dad ever. I love you.” After I finished all of the carving I put black underglaze in all of the lines I carved. It worked out really good. If I messed up I slippy whipped off the black. Once I finished the long process I set my motorhome on the shelf to dry. I went and grabbed my test piece that was fired. I put clear glaze on it to see if it would change any of the colors on my motorhome. When it came out of the kiln it looked really good and all the colors turned out perfect. I loved the shine effect the clear glaze gave it. I then fired my motorhome and it came up looking really nice. The next step was to put on the horses. I used an underglaze pencil for this and it was somewhat hard because you can't erase it. I just went for it and drew the horses. They look kinda stupid but I still like them. Then I put clear glaze on my motorhome and fired it. It came out perfect. All the colors darkened well so it matched my dad's real motorhome. I am really happy with the overall artwork and I can't wait to give it to my dad for his birthday.
1 Comment
Mrs. Underhill
5/11/2021 12:46:32 pm
TURNED OUT AWESOME!! You'll have to tell me his reaction when you give it to him. Nice work. Leave a Reply. |
AuthorHello, my name is Arika. I like tacos, sports, art, and animals. My cover page is my dog izzy. :) Archives
June 2021
Categories |
 RSS Feed
